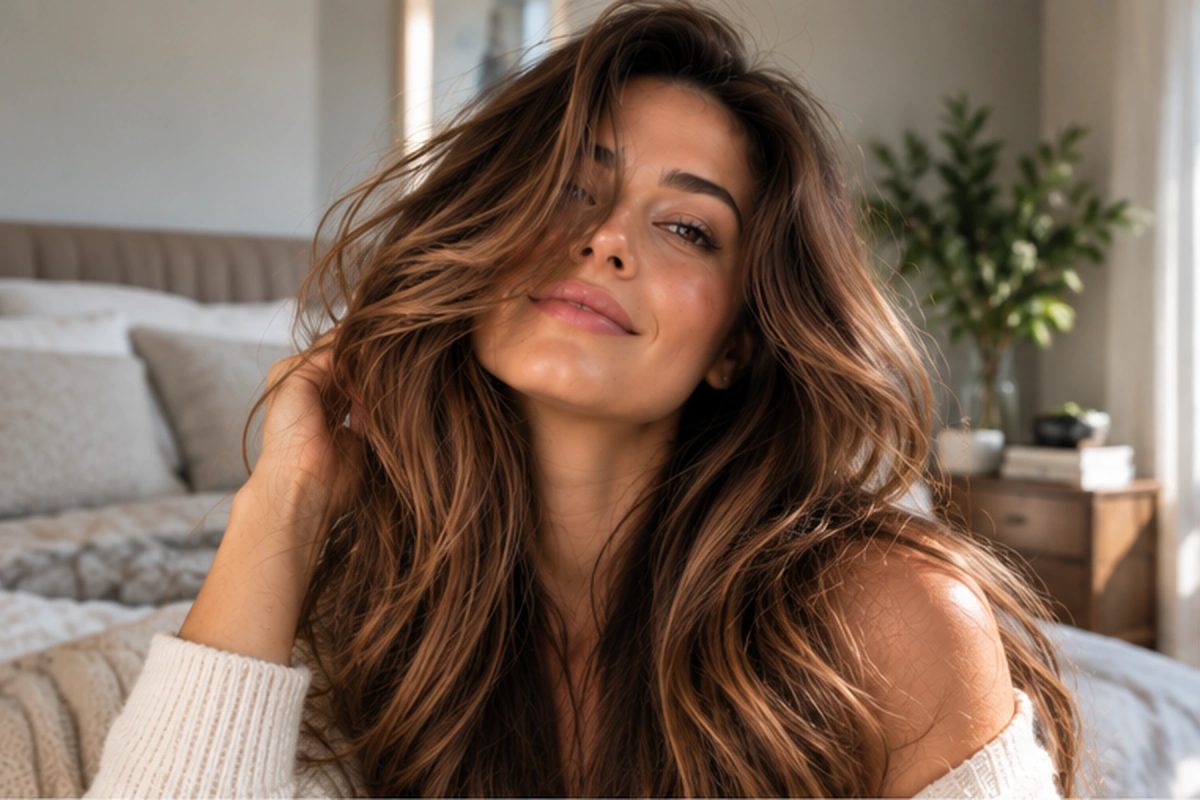
A salon-style blowout is less about owning one “miracle” tool and more about using a small system in the right order. The most reliable setup combines controlled airflow, a brush or one-step styler you can manage comfortably, lightweight preparation, clean sectioning, and enough time to dry each section completely. Once those pieces work together, smoothness, volume, and softly curved ends become much easier to repeat at home.
For a polished at-home blowout, you need a dryer or blow-dryer brush, heat protection suited to your hair, sectioning clips, and a brush shape that supports your preferred finish. Rough-dry first, work in manageable sections, direct airflow from roots to ends, and let each section cool before disturbing it.
What an at-home blowout system actually includes
Think of the routine as five connected parts: preparation, airflow, tension, sectioning, and cooling.

A powerful dryer cannot compensate for soaking-wet hair, oversized sections, or a brush that is difficult to control. Likewise, several styling products will not improve the finish if they make the hair heavy before you begin. A useful system is intentionally small.
- A primary drying tool: either a traditional dryer with concentrated airflow or a one-step blow-dryer brush.
- A control tool: a round brush when using a separate dryer, or the brush barrel built into a one-step styler.
- A preparation product: heat protection, with detangling or smoothing benefits only when your hair needs them.
- Four to six sectioning clips: enough to keep damp hair away from the section you are drying.
- A light finishing product: optional, and chosen for your goal—hold, shine, texture, or frizz control.
Choose the simplest setup you can use consistently. A technically impressive tool is not an upgrade if its size, weight, or technique makes you avoid blow-drying altogether.
Choose your blowout method before you shop
There are two practical routes to a salon-style result at home. Neither is universally better; the right choice depends on how much control you want and how comfortable you are coordinating both hands.
Separate dryer and round brush
This method lets you choose the brush diameter, change your angle, concentrate airflow, and adjust tension independently. It is the more flexible route for creating root lift, smooth lengths, curved ends, or different finishes around the face.
The tradeoff is coordination: you must hold the dryer above the section while rotating or drawing the brush with the other hand.
One-step blow-dryer brush
A one-step styler combines the brush and airflow, reducing the number of moving parts. It can be easier for beginners and useful when storage space is limited.
The tradeoff is less independent control. Barrel size also matters: a large oval barrel may be awkward on very short hair or small face-framing sections.
Traditional dryer setup
The Shark SpeedStyle Pro Flex HD542 is the premium traditional-dryer option in this system. It suits readers who want the flexibility of a separate dryer and brush rather than a fixed-barrel experience.
Beginner-friendly one-tool setup
The REVLON One-Step Volumizer Plus uses a 2.4-inch barrel and combines drying and brushing in one tool. Consider it when simplifying hand coordination matters more than having maximum control over every section.
Remove excess water gently and rough-dry according to your tool and product directions before concentrating heat on individual sections. Use a lower comfortable heat setting when possible, keep the tool moving, and stop if the hair or scalp feels excessively hot.
Build the supporting setup
The accessories are less exciting than the dryer, but they often determine whether the routine feels controlled or chaotic.
A round brush sized for your hair
Smaller barrels create a tighter bend and can navigate shorter layers. Larger barrels favor a looser, smoother finish on longer hair. Dense or very long hair may be easier to manage with a longer barrel that accommodates a wider section.
Sectioning clips that hold securely
Clips keep damp hair from falling into a finished section. This protects the shape you created and prevents you from repeatedly reheating the same area.
Heat protection matched to your hair
Apply the amount and method stated on the product label. Fine hair generally benefits from lighter application; thicker or coarser hair may need more slip and smoothing, but overapplication can still make the finish look flat.
One targeted finishing product
Choose according to the problem you actually have. A flexible-hold spray supports shape, a light serum addresses dry-looking ends, and a texture product can restore movement when a blowout feels too polished.
The classic round-brush option
The Olivia Garden Ceramic + Ion Speed XL CIXL-45 has a 1¾-inch extra-long thermal barrel and is positioned for normal-to-thick hair. It makes the most sense for medium or longer lengths when your goal is smooth movement rather than a tight curl.
The small accessory that improves the routine
The six-piece Kitsch Professional Alligator Clip set gives you enough clips to divide the head into broad working zones and then isolate smaller sections within them.
Preparation for medium-to-coarse hair
Kenra Professional Platinum Blow-Dry Spray is marketed as a heat-protecting, detangling, smoothing, and humidity-resistant blow-dry prep for medium-to-coarse hair. Treat it as a targeted option rather than a universal recommendation, and follow the label instead of layering it automatically with several other leave-ins.
How to do a polished blowout at home
The technique becomes easier when you separate drying from shaping. Your first goal is to remove excess moisture evenly. Your second is to refine one section at a time.

Prepare without overloading the hair
Gently blot wet hair rather than rubbing it aggressively. Detangle with a method appropriate for your hair, then apply heat protection as directed. Keep heavier products away from the roots unless the instructions or your hair needs say otherwise.
Rough-dry before shaping
Use your fingers to lift and move the hair while removing much of the moisture. Concentrating a round brush on very wet hair makes each section take longer and can lead to repeated heat passes.
Create a section map
Divide the hair into lower, middle, crown, and front zones. Clip everything except the area you are working on. Within each zone, take a section narrow enough for airflow to reach through it instead of only drying the surface.
Place the brush close to the roots
Lift the section away from the scalp for volume, or keep it closer to its natural fall for a smoother root. Maintain firm but comfortable tension—enough to guide the hair, never enough to tug painfully.
Direct airflow down the hair
With a traditional dryer, aim airflow from roots toward ends and follow the brush. With a one-step brush, move slowly and continuously rather than holding the hottest area in one place.
Shape the ends deliberately
For a soft bend, rotate the brush slightly inward as the ends pass over the barrel. For more movement, wrap the ends farther around the brush, then unwind carefully without trapping or yanking the hair.
Let the section cool
Hair can lose its intended shape when it is pulled, brushed, or tucked behind the ears immediately. Hold the curve briefly, use a cool setting if available, or place the finished section aside while it cools.
Finish with your hands first
Once every section is cool, arrange the hair with your fingers. Add only the finishing product needed for hold, shine, or frizz control. This preserves movement better than coating the hair before you see what it needs.
Adjust the technique for your preferred result
| Goal | Brush and direction | What to prioritize |
|---|---|---|
| Smooth and sleek | Work downward with moderate tension and minimal rotation. | Even airflow, complete drying, and controlled ends. |
| Root volume | Lift the section up and away from its natural fall. | Dry roots fully and let them cool in the lifted position. |
| Bouncy ends | Use a round barrel and rotate at the lower lengths. | Consistent section size and cooling the bend before separating it. |
| Soft face framing | Direct front sections away from the face. | Smaller sections, comfortable tension, and natural-looking symmetry. |
A “salon-style blowout” does not have to mean removing every trace of natural texture. You can stretch, smooth, or shape the hair to the degree that suits your routine. Use techniques and heat levels appropriate for your hair rather than treating one finish as the standard everyone must reach.
Why a blowout turns frizzy, flat, or uneven
What usually helps
- Removing more moisture before detailed brush work.
- Making sections smaller when the underside stays damp.
- Keeping airflow aligned from roots to ends.
- Using less product at the roots.
- Cooling each section before loosening it.
What commonly works against you
- Styling while parts of the hair are still very wet.
- Reworking finished sections when loose hair falls into them.
- Using the highest heat by default.
- Combining several smoothing products before testing one.
- Brushing out the shape immediately.
If the roots fall flat
Focus on root direction before trying to create more curl at the ends. Lift the root section away from its normal fall, dry it fully, and let it cool before placing it back. Heavy preparation near the scalp can also cancel the lift you create.
If the surface looks frizzy
Check whether the section was too thick for airflow to reach through it. Then look at airflow direction and product amount. More serum is not always the answer; controlled downward airflow and complete drying often matter more.
If the ends look dry
Avoid concentrating prolonged heat on the oldest part of the hair. Move through the lengths first and shape the ends near the end of each pass. Add a very small amount of an appropriate finishing product only after assessing the result.

Create the right version for your routine
One-step setup
Choose a blow-dryer brush, heat protection, and four to six clips. Add a finishing product only after you know whether hold, shine, or frizz is the issue to solve.
Traditional setup
Pair a dryer with concentrated airflow, a round brush appropriate for your length, heat protection, clips, and one finishing product.
Compact setup
Use one primary electrical tool, keep clips in a small pouch, and limit products to one prep and one finish. Store hot tools only after they are unplugged and fully cool.
Destination setup
Confirm voltage and plug compatibility before traveling with an electrical tool. Transfer only products that can be safely decanted and clearly labeled, or choose compliant travel sizes.
Keep the system easy to repeat
A repeatable blowout station does not need to remain on display. Give the dryer and brush a ventilated storage area, keep clips together, and place your two most-used products where they are easy to reach. Remove hair from brush bristles regularly and follow each manufacturer’s cleaning instructions, including any guidance for air inlets or filters.
Once you know your preferred method, section size, product amount, and finish, keep those variables consistent. Change one thing at a time when troubleshooting so you can tell whether the new brush, technique, or product actually improved the result.
Start with method, not a shopping list. Choose between a traditional dryer-and-brush setup and a one-step styler, then add heat protection and reliable sectioning. Those four decisions create the foundation; finishing products and upgrades should solve a specific problem you can already identify.
Frequently asked questions
What tools do I need for an at-home blowout?
At minimum, use a dryer or blow-dryer brush, heat protection appropriate for your hair, and sectioning clips. If you choose a traditional dryer, add a round brush sized for your hair length and desired finish. A finishing product is optional.
Should I use a blow-dryer brush on soaking-wet hair?
Do not assume every blow-dryer brush is designed for soaking-wet hair. Remove excess water and follow the instructions for your specific tool. Rough-drying first can reduce the time spent concentrating heat on individual sections.
How can I make an at-home blowout last longer?
Dry every section completely, let it cool in the intended shape, avoid overloading the roots with product, and protect the finish from moisture. The best nighttime method depends on your hair length, texture, and the shape you want to preserve.
What size round brush is best for a blowout?
Smaller barrels create a tighter bend and are easier to use on shorter layers. Larger barrels create a looser, smoother finish on longer hair. Choose a size that lets you maintain tension without tangling or crowding the section.
Why is my hair still frizzy after a blowout?
Common causes include sections that are too large, upward or scattered airflow, parts of the hair remaining damp, excessive handling before the hair cools, or a preparation routine that does not suit your hair. Adjust one variable at a time.