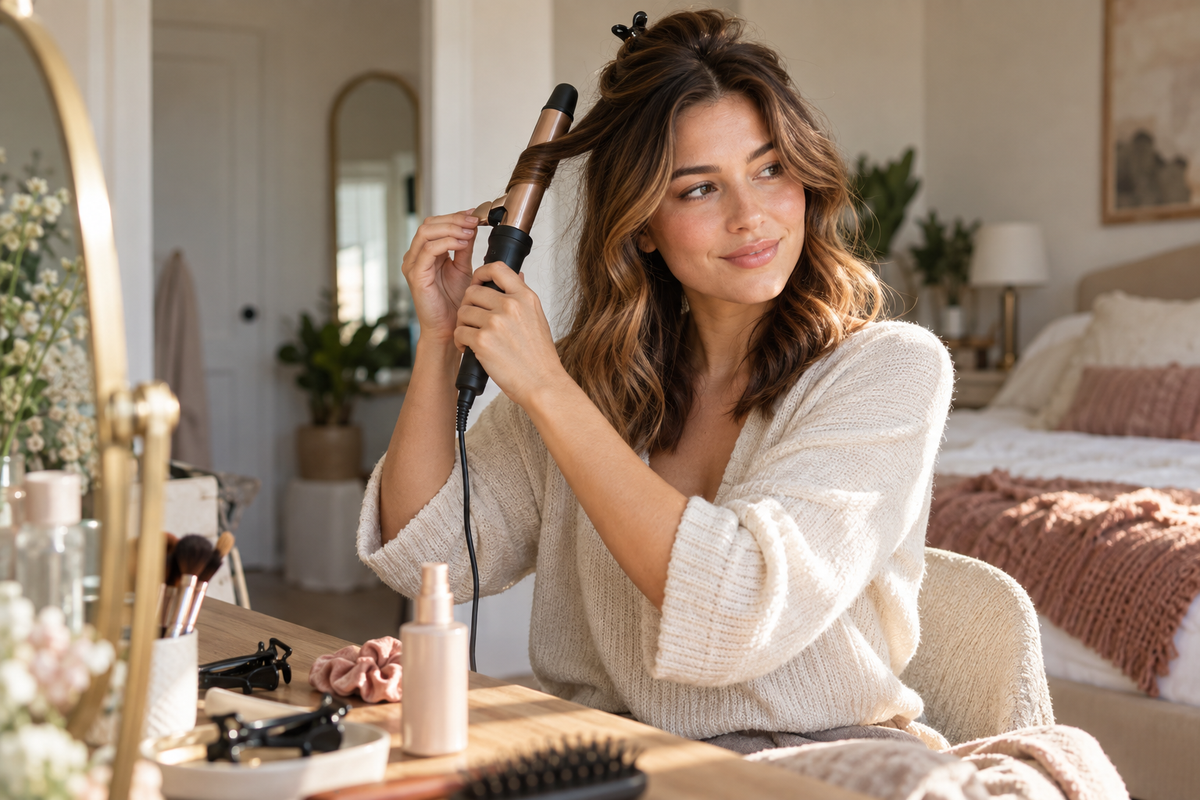
Soft, natural waves are not mainly a product problem. They fall flat when hair starts too damp, sections vary wildly, the tool is too hot, or the shape is pulled apart before it cools. A reliable routine controls those variables in a simple order: prep → section → shape → set → finish.
The short answer
Begin with dry, lightly protected hair. Divide it into four workable zones, use one consistent styling route, and allow each wave to cool before touching it. When the whole head is cool, separate the pattern with fingers and add a small amount of finishing product only if the day needs extra hold.
What makes a soft wave look natural?
A soft wave has movement rather than a repeated row of identical curls. The bend usually begins below the root, changes direction through the back, and relaxes slightly at the ends. Face-framing pieces can turn away from the face, while the rest should feel balanced rather than perfectly mirrored.
The most important visual difference is what happens after curling: tightly separated ringlets read as curls; cooled sections that are gently broken apart read as waves. That is why the setting and finishing stages deserve as much attention as the hot tool.
Step 1: prep for the method you are actually using
For a curling iron, wand, or straightener, start with fully dry hair unless the manufacturer explicitly states otherwise. Applying a hot tool to damp hair can create unnecessary stress and an uneven result. Use heat protectant according to its directions, distribute it through the areas you will style, and allow any damp spray to dry before adding heat.
Do not automatically stack mousse, cream, oil, heat protectant, texture spray, and hairspray. Fine or easily weighed-down hair may hold better with less. Coarser or very dry hair may need more conditioning support, but it still benefits from knowing which product has which job.
For heatless waves, begin with hair that is only slightly damp or nearly dry. Hair that remains wet inside the wrap will not set consistently and can feel uncomfortable overnight.
Step 2: section without making it complicated
Create four broad zones: lower, middle, crown, and front. Clip away everything except the zone you are styling. Within that zone, use sections narrow enough for the tool to contact the hair evenly.
Larger sections create a looser result and shorten the routine, but sections that are too large may heat only on the surface. Smaller sections look more defined and last longer, but they also take more time and can turn the result curlier than intended. Consistency matters more than a universally “correct” width.
Step 3: choose one shaping route
Curling iron or wand
A one-inch barrel is a versatile starting point for many medium lengths, while longer hair may create a looser look on the same barrel. Keep the tool moving through the routine and choose the lowest effective temperature for your hair type, condition, and tool instructions.
Start below the root
Leave the top section smoother unless root volume is part of the goal.
Wrap or clamp the mid-lengths
Avoid repeatedly heating the fragile ends. Leaving the last inch or two straighter helps create a modern, softer finish.
Vary direction through the back
Alternate away from and toward the face so the waves do not merge into one heavy curl. Keep the front pieces directed away from the face if that is the framing you prefer.
Use brief, controlled heat
More heat is not a substitute for manageable sections. Stop if the hair or scalp feels excessively hot.
Straightener waves
A straightener can create a flatter S-shaped bend. Rotate the tool gently as you glide through the section instead of clamping in one place. This route can look especially casual, but it requires practice to keep tension and movement even. Use the same dry-hair and heat-protection rules.
Heatless waves
Wrap slightly damp hair around a soft roller or fabric set, secure it without painful tension, and leave it until completely dry. Heatless does not mean effortless or universally predictable: results depend on natural texture, haircut, dampness, wrapping direction, and the time available to dry.
Step 4: let the shape set
When a section comes off the tool, support it briefly in your palm or pin it loosely while it cools. Do not brush it immediately. Hair is most likely to lose the shape while it is still warm.
If waves fall within an hour, review this stage before buying a stronger spray. Check that the hair was fully dry, the section size suited the tool, and each section cooled before being disturbed.
Step 5: finish lightly
Wait until the entire head is cool. Separate the waves with clean fingers for the loosest finish or use a wide-tooth comb for a more unified pattern. If the roots look flat, lift them gently rather than coating the lengths with texture product.
Add one finishing product based on the real need: flexible hold for longevity, a tiny amount of serum for dry-looking ends, or nothing when the wave already looks and behaves the way you want. Spray from a distance and build slowly.
The Everyday Soft Waves System
The System below keeps the five roles stable while letting you choose the hot-tool or heatless route that suits your hair and schedule.
Why waves fall flat quickly
- The hair was not fully dry. Residual moisture prevents a stable hot-tool set.
- The section was too large. Only the surface received enough heat to change shape.
- The section was brushed while warm. The new shape had no time to set.
- Too much product added weight. More hold product can sometimes make a soft wave collapse faster.
- The barrel and hair length created the wrong scale. A large barrel on shorter hair may barely bend; a small barrel on long hair may create a curlier finish.
- The starting texture was stretched too smooth. Very silky or freshly conditioned hair may need a lighter hand with conditioning products and more attention to cooling.
How to make the result look softer, not curlier
Keep the root area less curled, leave a little of the end out, and avoid making every section identical. Most importantly, wait until the hair is cool before loosening it. If the first pass looks more defined than you want, do not immediately reheat it; let it cool, then separate and reassess.
Choose the right variation
Fast Everyday Waves
Use fewer, larger sections and create a relaxed bend mainly through the mid-lengths. Cool while you finish getting ready, then separate with fingers. Skip finishing spray unless your hair needs it.
Polished Soft Waves
Use consistent sections around the crown and hairline, control the direction around the face, and pin or support each wave while it cools. Add a light mist of hold only after breaking up the pattern.
Low-Heat / Heatless Waves
Use an overnight satin set on slightly damp hair and allow it to dry fully. Separate carefully in the morning. If your hair does not hold heatless shapes, treat that as information about the method—not a reason to overload it with product.
What you actually need—and what you can skip
The practical kit is small: one preparation product when using heat, a few secure clips, one primary shaping tool or heatless set, and an optional finishing product. You can skip multiple barrel sizes, duplicate texturizers, a full clip collection, and a separate product for every section of the head.
If you prefer a smooth, bouncy result rather than a wave pattern, use the confirmed At-Home Blowout System. For an equally streamlined getting-ready routine, see the 10-minute everyday makeup routine.
Tool care and heat safety
Place hot tools only on a heat-resistant surface, unplug them after use, and allow them to cool completely before storage. Keep cords away from water and avoid wrapping a cord tightly around a hot tool. Clean residue from the barrel only according to the manufacturer’s instructions and never while the tool is plugged in or hot.
Hair that is bleached, chemically treated, fragile, or already breaking needs a conservative approach to heat and tension. A lower-heat or heatless route may be more appropriate, and persistent scalp or hair concerns belong with a qualified professional.
Start with technique, not a ten-product shelf. Prep lightly, make repeatable sections, choose one shaping route, let the hair cool, and finish only after you see what it needs.
Frequently asked questions
Why do my soft waves fall flat so quickly?
Common causes include styling hair that is not fully dry, using sections too large for the tool, disturbing the shape before it cools, or adding too much product weight.
Should I brush waves out immediately?
No. Let every section cool first, then use fingers or a wide-tooth comb to soften the pattern.
Can I create soft waves without heat?
Yes. Wrap slightly damp hair in a heatless set and leave it until completely dry. Results vary with texture, haircut, dampness, and wrapping method.