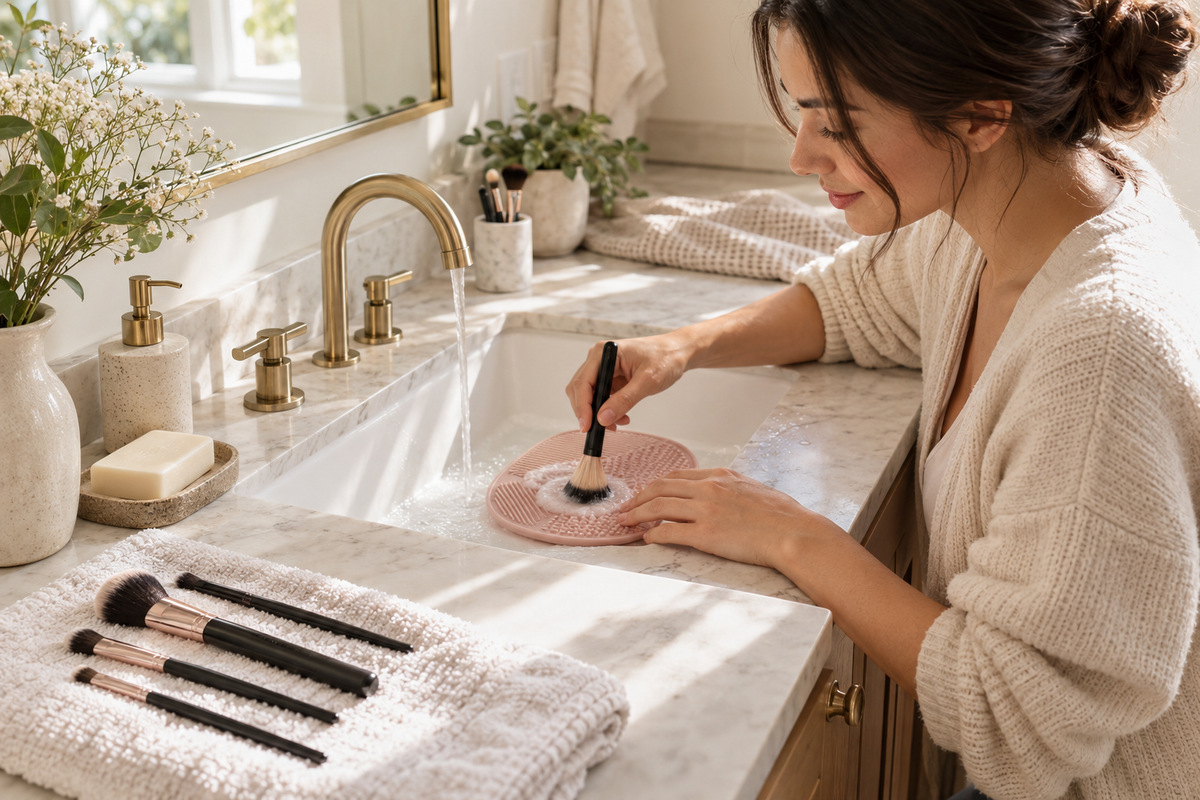
Cleaning makeup brushes does not need to become a complicated beauty ritual. A reliable routine has five jobs: sort → wash → rinse → dry → store. The most important details are keeping water away from the ferrule and handle connection, rinsing out cleanser fully, and letting tools dry completely before they return to closed storage.
How often should you clean makeup brushes?
There is no single schedule for every tool. Frequency depends on what the brush touches, how often it is used, whether products are cream or powder, and whether the tool is shared. Brushes used with liquid or cream complexion products generally need more frequent washing than an occasional powder brush. Makeup sponges should be cleaned more often than brushes because they are used damp and contact larger areas of the face.
A practical approach is to set one regular weekly cleaning window, then clean high-use cream-product tools and sponges sooner when they hold visible product. Replace any tool that remains damaged, smells unusual after washing, cannot dry properly or no longer performs normally.
1. Sort brushes before washing
Separate brushes by use: complexion creams, powders, eyes, lips and tools that need only a quick color change. Inspect each handle, ferrule and brush head. Loose ferrules, cracked handles and heavy shedding are signs to be careful; washing cannot repair structural damage.
Do not wash every tool automatically. A clean unused brush can stay out of the sink, and a color-switch sponge is not a substitute for washing when oils and product have built up.
2. Wash the bristles without soaking the brush
Use lukewarm water and a cleanser intended or confirmed for the tool. Wet the bristles while pointing them downward. Avoid submerging the ferrule or handle because repeated water exposure at the connection can affect the brush.
Work a small amount of cleanser through the bristles using your palm or a textured silicone mat. Use light circular or back-and-forth movements rather than grinding the brush into the surface. Large dense foundation brushes may need more than one pass.
3. Rinse until the water is clear
Keep the brush angled downward and rinse thoroughly. Gently squeeze from the base of the bristles toward the tips to check for remaining product and cleanser. Do not twist or wring the bristles.
For makeup sponges, repeatedly compress and release the sponge under clean water. Avoid digging fingernails into the material, which can create tears. Continue until visible cleanser is removed.
4. Reshape and air-dry completely
Press excess water into a clean towel, reshape the brush head and air-dry it with the bristles positioned so water does not run into the ferrule. A drying rack can hold brush heads downward. Without one, lay brushes horizontally on a clean towel with the bristles extending slightly past the edge of a counter.
Do not put damp brushes upright in a cup, seal them in a pouch or use high heat to speed drying. Allow enough time for dense brushes and sponges to dry fully.
5. Store only clean, dry tools
Keep everyday brushes in a clean holder or pouch away from splash zones and loose bathroom dust. Covered storage can be useful, but only after tools are completely dry. Keep dirty and clean tools separated so the routine does not depend on remembering which brush was used.
The Makeup Brush Cleaning System
The System below keeps the steps stable while adjusting the products and tool capacity for a minimal weekly clean, a full brush reset or a sponge-and-travel routine.
Which routine fits your goal?
Tap one choice below. We’ll open the matching version of the The Makeup Brush Cleaning System.
-
Minimal Weekly Clean
A small-set routine with one solid cleanser, one compact mat and no required drying or storage purchase.
-
Full Brush + Tool Reset
A higher-capacity setup with a larger mat, dedicated drying rack and covered storage for fully dry brushes.
-
Sponge + Travel Tools
A compact cleaning route for brushes and sponges with ventilated cases reserved for clean, fully dry sponges.
What happens next? Your choice opens the full System, where you can select products and save your choices.
Three ways to build the system
Minimal Weekly Clean
Use one solid cleanser, a compact silicone mat and towel-dry brushes horizontally. This version is enough for a small everyday brush set and avoids buying a drying rack before you need one.
Full Brush + Tool Reset
Use a larger textured mat and a dedicated drying rack for a bigger group of face and eye brushes. Finish with covered storage only when every brush is dry.
Sponge + Travel Tools
Use a cleanser that handles both brushes and sponges, a compact mat, horizontal drying and a ventilated sponge holder for transport. The case is for a clean, fully dried sponge—not a shortcut for sealing up a damp one.
How to clean a makeup sponge
Wet the sponge, apply a compatible cleanser, then compress it repeatedly rather than scraping or twisting. Rinse and repeat until the released water is clear. Press it in a clean towel and leave it in an open, well-ventilated location until fully dry.
Do you need a brush-cleaning mat?
No. Your palm can provide enough gentle texture for a small set. A mat becomes useful when it shortens a repeated cleaning session or helps with dense brushes. Choose a compact mat for a few tools; a larger multi-texture version is more reasonable for a full collection.
Do you need a drying rack?
No. Horizontal drying with brush heads slightly over a clean counter edge works without a special product. A rack is useful when you clean many brushes at once, lack clean counter space or want the heads consistently angled downward.
What to avoid
- soaking the ferrule or entire brush
- using very hot water
- twisting or wringing bristles and sponges
- drying brushes upright while they are wet
- using a hair dryer or direct high heat
- putting damp tools into covered storage
- assuming a quick color-switch tool replaces regular washing
- sharing makeup tools without appropriate cleaning practices
How this fits your makeup routine
A smaller daily makeup edit makes tool care easier. The 10-Minute Everyday Makeup Routine limits the active roles, while the Makeup Capsule guide helps remove duplicate products and unnecessary tools.
For travel, clean tools before packing and separate them from loose cosmetics. The Travel Beauty guide explains how to reduce the full routine without carrying the whole vanity.
Frequently asked questions
Can I use dish soap on makeup brushes?
Use a cleanser confirmed as appropriate for your brush or sponge. Strong degreasing products may be harsher than necessary for some bristles, finishes or adhesives.
Can brushes dry overnight?
Some can, but dense brushes and humid rooms may require longer. Judge by complete dryness, not a fixed number of hours.
Why should brushes dry horizontally or facing down?
This positioning helps keep water from running toward the ferrule and handle connection.
Can I store brushes in the bathroom?
Yes, if the location stays clean and away from direct splashes or persistent humidity. Covered storage should receive only fully dry brushes.