You do not need advanced sewing skills to rescue a loose button, a small open seam or a dropped hem. A practical clothing-repair routine starts by identifying the problem, choosing the least aggressive fix and stopping when the fabric needs professional help.
The beginner formula is inspect and prepare → stitch and fasten → patch and reinforce → hem and bond → finish and maintain.
What clothing repairs can a beginner do at home?
Most beginners can learn to resew a button, close a short clean seam opening, secure a small loose hem and reinforce a small hole in a stable woven fabric. Practice on a scrap or an old garment before working on a favorite piece.
Use a tailor when damage affects fit or structure: a broken zipper, torn lining, large rip, damaged leather, tailored shoulder, delicate silk, complex knit damage or a hole where fabric has worn thin.
1. Inspect and prepare the garment
Read the care label, identify the fabric and examine both sides. Ask whether stitches failed or the fabric itself tore. If a seam opened and the surrounding fabric is strong, restitching may be enough. Thin, frayed or missing fabric needs reinforcement or professional repair.
Remove only damaged thread with a seam ripper. Do not pull at the seam or cut blindly near intact fabric. Clean the area before using adhesive or fusible product.
2. Stitch and fasten
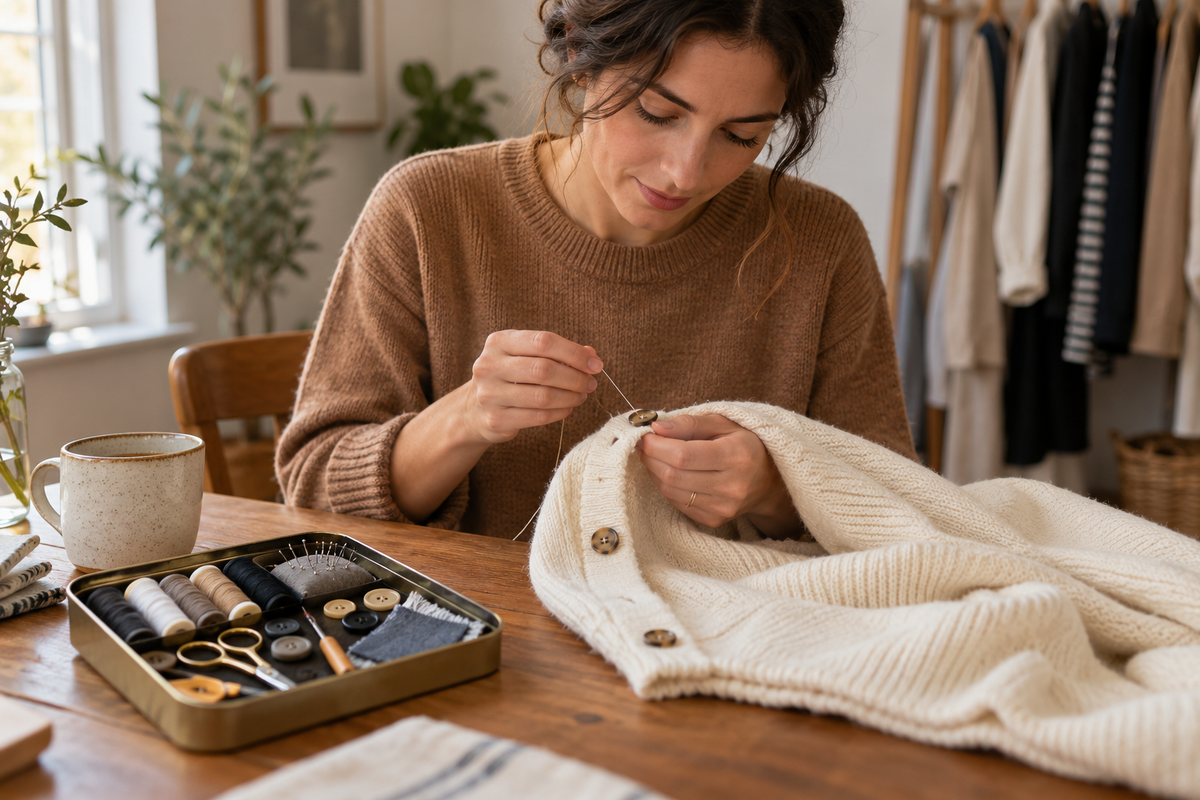
Resew a loose button
Use the original position or compare with the matching button. Thread a hand-sewing needle with a close color match, work from the wrong side and use the existing holes. Avoid pulling so tightly that the fabric puckers, then finish securely on the back.
Close a small open seam
Turn the garment inside out and align the original seam allowance. Use small, even backstitches along the original seam line, extending slightly beyond both ends. Do not use this technique where fabric is torn or heavily frayed.
3. Patch and reinforce
A patch should extend beyond the weak area into stable fabric. Iron-on patches can suit compatible washable woven garments, while fabric adhesive may work for projects allowed by its label. Neither route fits every fabric, heat-sensitive finish or stretch area.
Choose a close color when you want the mend to recede, or make a deliberate visible repair. Follow the manufacturer’s heat, cure and washing directions exactly.
4. Hem and bond
For a dropped hem, check whether the original fold remains visible. A hand-sewn blind hem is usually the most flexible fix. Fusible web is a faster alternative for compatible fabrics, but can make later alterations harder. Test heat discreetly and never exceed garment-care instructions.
5. Finish and maintain
Trim loose thread ends, press if permitted and inspect both sides. Surface pilling can be removed carefully with a fabric shaver, but a shaver cannot repair thinning yarn or a hole. See the guide to washing, de-pilling, drying and storing sweaters.
The Basic Clothing Repair System
The System groups tools by stable repair role, so you can start small and add only what your wardrobe needs.
Which setup fits your wardrobe?
Tap one choice below. We’ll open the matching version of the The Basic Clothing Repair System.
-
Minimal Emergency Kit
A compact setup for buttons, small seams, compatible bonding and light maintenance.
-
Everyday Wardrobe Repair Kit
A complete home kit for repeated repairs, patching choices and garment finishing.
-
Woven Garment + No-Sew Options
A woven-garment route with compatible patches, adhesive and fusible bonding while retaining a sewing kit.
What happens next? Your choice opens the full System, where you can select products and save your choices.
Which repair-kit version should you choose?
Minimal Emergency Kit
For buttons, small open seams, quick compatible bonding and light maintenance. Keep one seam ripper, one compact sewing kit, one bonding option and a basic fabric shaver.
Everyday Wardrobe Repair Kit
For regular home mending. It adds a larger sewing kit, patch choices and a rechargeable shaver without becoming a craft-room collection.
Woven Garment + No-Sew Options
For simple woven repairs where compatible iron-on and adhesive methods help. Keep a sewing kit because stress points and many hems still last better when stitched.
What belongs in a beginner clothing-repair kit?
- hand-sewing needles in a safe case
- black, white and wardrobe-matching thread
- a seam ripper
- small thread scissors
- labeled spare buttons
- pins or clips
- a measuring tape
- one patch or bonding route if needed
Use the Weekly Wardrobe Reset to collect loose buttons and open seams before they worsen. During a seasonal wardrobe transition, repair items before returning them to rotation.
Common repair mistakes
- using adhesive or heat before checking the label
- pulling stitches until fabric puckers
- patching weak fabric without reaching stable material
- choosing thread without testing it against the garment
- using a fabric shaver on damaged or very delicate material
- attempting structural tailoring with a basic kit
What you can skip
Skip giant thread assortments, duplicate mini kits and specialized tools until a real repair requires them. Pair repairs with a simple laundry routine and regular shoe care.
Frequently asked questions
Can fabric glue replace sewing?
No. It can work for compatible projects, but seams under tension, many hems and flexible repairs may require stitching or professional work.
Is an iron-on patch permanent?
Durability depends on the patch, fabric, application and laundering. Follow both sets of instructions and inspect before wear.
What thread color should I use?
Compare thread against the garment in natural light. Test before stitching.
When should I use a tailor?
Use a professional for fit changes, zippers, tailored structure, delicate or expensive materials, large tears, leather and fabric too weak to hold a simple repair.